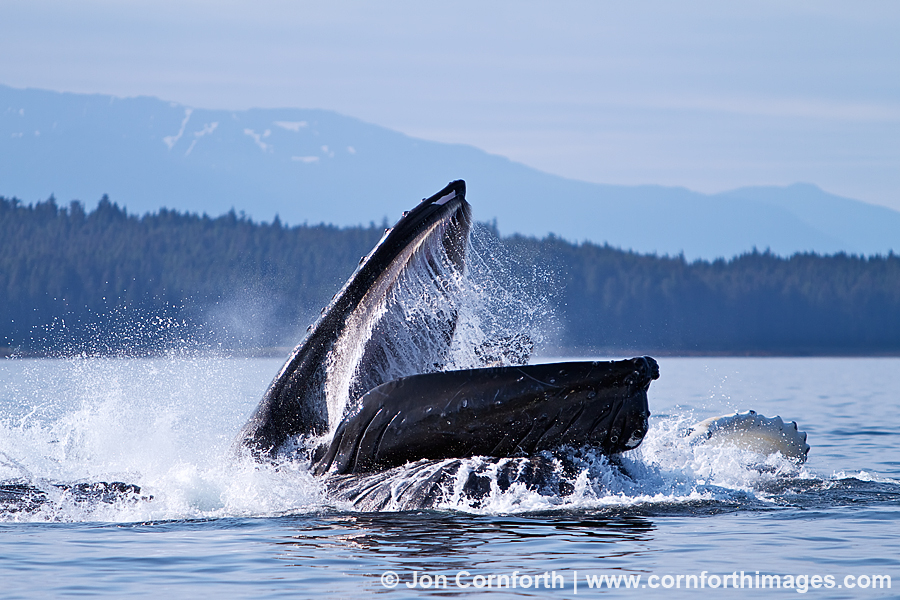
Humpback Whales Bubble Feeding 100

Humpback Whales Bubble Feeding 100

Posted on

I always say that if I could photograph only one thing, that it would be whales. Unfortunately, they are the most difficult and expensive subject that I photograph. I have swam next to these gentle giants and watched them repeatedly breach into the air, but the most amazing behavior I have documented is humpback whales bubble-net feeding in Alaska. This phenomenon involves a group of whales diving beneath a school of fish and blowing a ring of bubbles underwater to effectively form a net as it rises to the surface. The ring can be up to 100′ in diameter. The fish get scared by the bubbles and become concentrated in the center. At the last second the whales swim up from beneath the school of fish with their months open swallowing everything they can in one enormous gulp. Research has shown that the individual whales repeatedly take up the same positions as they come out of the water during each attack. The best photographs include the most dominant whales in the center positions as they burst above the surface and slam their mouths closed. An incredible amount of patience and luck is involved in anticipating where the whales are going to form a bubble-net. If I am close enough and can see the bubbles rising at the last second, I have to react fast enough to capture the moment as they lunge out of the water. Magnificent!

Be social and share.

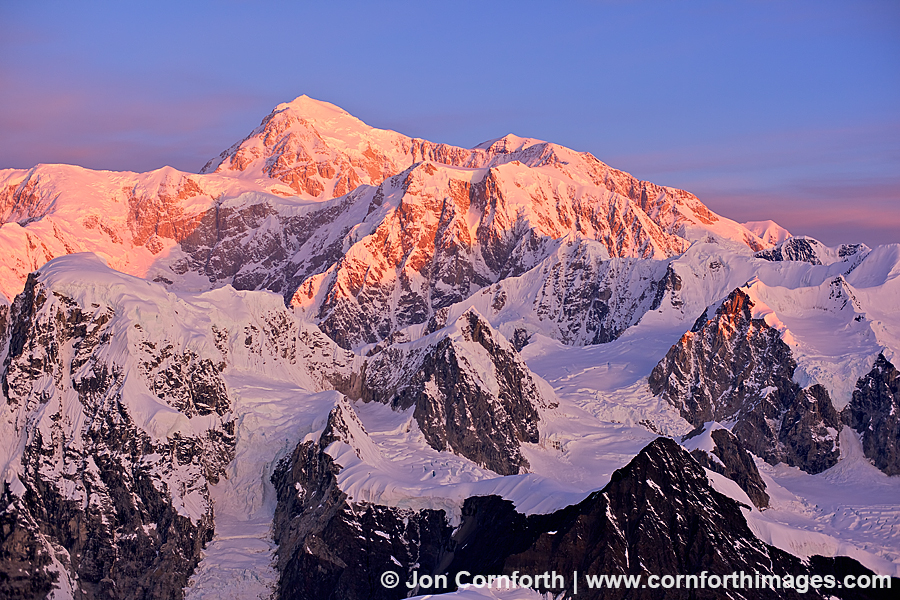
Mt McKinley Sunrise Aerial 3

Mt McKinley Sunrise Aerial 3

Posted on

This image of Mt McKinley is from the sunrise flight that I did over the Alaska Range in September. I had a lot of fun flying with the doors removed; the only downside was that I had to wear so many clothes to stay warm. I got a deal from pilot Don Lee to fly in his small Piper aircraft, but I forgot to consider that a smaller plane might not be able to reach the altitude that I like to shoot from. We only managed to coax the plane up to about 9000′, rather than the 12,000′ elevation that I normally shoot from in a Cessna. However, if I had been up any higher, the glaciers and ridges would not have provided as much depth leading up to the summit. I created this image with my Canon 5DmkII and Carl Zeiss 50mm f1.4 ZE lens.

Be social and share.

Mooses Tooth Aerial

Moose’s Tooth Aerial

Posted on

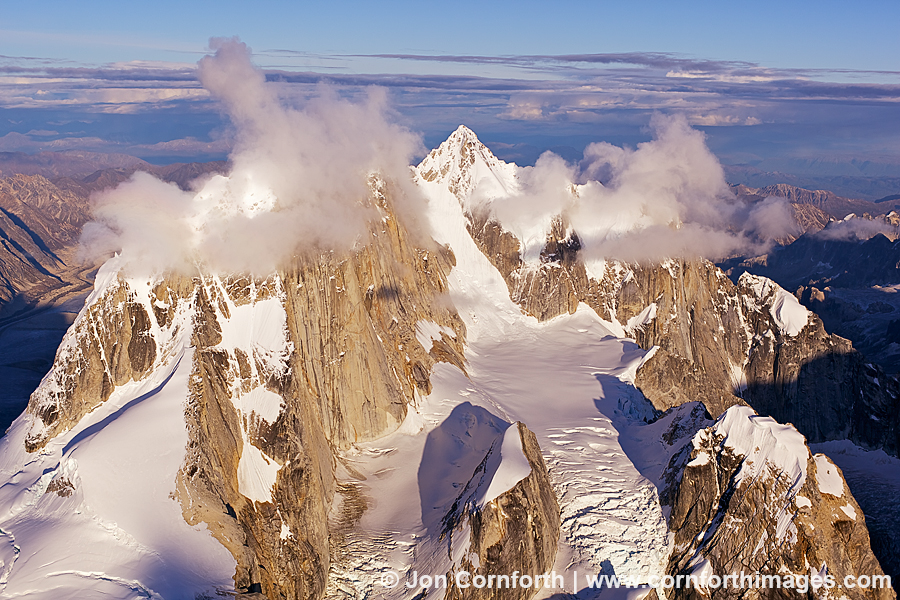
In September, I took advantage of a week of spectacular weather in Alaska, and did some aerial photography of the Alaska Range. My primary ambition on this flight was to photograph Mt McKinley at sunset, but I departed Talkeetna airport early enough to also do some “sight-seeing”. As the small plane I chartered approached the mountains, we first flew up the dramatic Ruth Gorge. Back when I used to climb, I read a lot of mountaineering stories about the granite spires of the Ruth Gorge, so it was nice to finally see these monster walls for myself. I was particularly impressed with the Moose’s Tooth. Sunset light never penetrates this location due to the mountains above the Ruth Amphitheater, but in this image the clouds clinging to the summit ridge added a layer of drama.  Since I no longer climb, I am unlikely to summit this granite myself, but I had an amazing experience flying so close.

When I shoot aerials, there are a few things that are required in order to create the images that I want. First, I need a pilot who is competent and knowledgeable of the local geography. Next, the window of the airplane must lift up or the door must be removed in order to have an unobstructed view. I need good communication with my pilot in order to tell him/her where to position the plane. Once on location, I need to decide quickly what is the best composition while the plane is moving and the light is changing. Finally, I use a normal lens like my Carl Zeiss 50mm f1.4 ZE lens to capture a wide shot that doesn’t include the wing of the plane. During each brief pass at my composition I take 10 to 20 photos at 4fps with my Canon 5DmkII. Once I’m back home editing my images, I look for the image with the strongest composition, nicest light, and, hopefully, a level horizon.

Be social and share.

Smith Glacier Crevasse 1

Smith Glacier Crevasse 1

Posted on

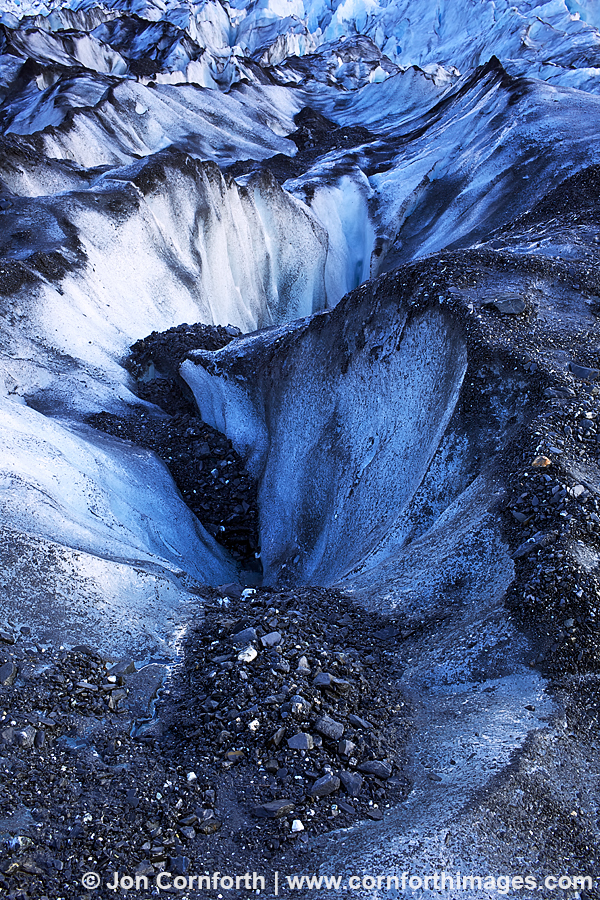
I created this image during my first incredible but brief voyage on Prince William Sound in Alaska last month. I motored my boat from Whittier to the head of College Fjord for a few days and was blown away but the photographic potential. I anchored in Tuition Cove near the Yale Glacier and used my inflatable to explore the area. One morning, I navigated my way through the iceberg choked fjord to the the Smith Glacier with the ambition of photographing the Harvard Glacier at sunrise. I got skunked on that one, but I was thoroughly enamored with the area so I turned my attention to the intimate landscape details of these crevasses.

Be social and share.

Mt McKinley & Mt Foraker Sunset Aerial 1

Mt McKinley & Mt Foraker Sunset Aerial 1

Posted on

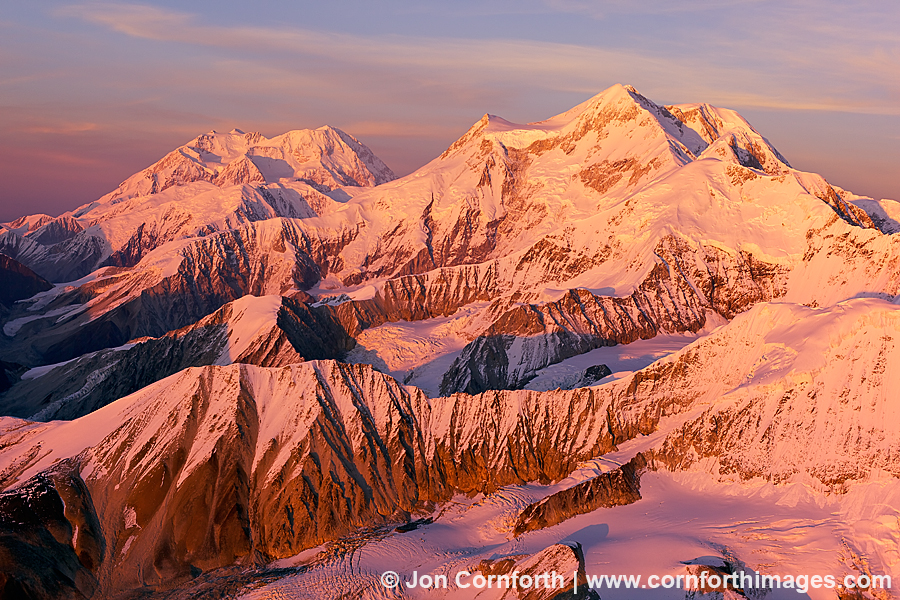
During my recent Alaska trip, I was able to see Mt McKinley almost everyday due to the perfect clear weather. To see the mountain even 1 day is very rare, let alone for 10 days straight. My normal landscape images from the ground were just not very exciting, so I hired a small plane 3 times with various friends in order to fly over the Alaska Range at sunset and sunrise. I did not get the sunset image that I was after on my first flight, but I figured out exactly where I wanted to return to shoot on my second flight. I liked this location because I was slightly back from Mt McKinley (left) and Mt Foraker (right) and able to line them up with these repetitive ridges giving the image some depth rather than just a simple mountain portrait.

I created this image while hand-holding my Canon 5DmkII and Carl Zeiss 50mm f1.4 ZE lens with the airplane’s window open so that I could shoot without the glass obstructing my view. My camera body shoots 4fps. If I hold down the shutter release button I get about 12 images before I fill-up the camera’s memory buffer. With my Sandisk 16GB Extreme CF memory cards, I can photograph almost 600 images before my card is full. That comes out to only 2.5 minutes of actual shooting before I fill-up the card! Over the course of almost 3 hours of flying that is a minimal amount of time. There is a lot of teamwork and communication involved between me and the pilot in order for me to create an aerial image like this. Of course, when I am back home I then have to edit 3000 images of the exact same thing looking for minor variations to find the image with which I am happiest.

Be social and share.

Denali Highway Aurora 1

Denali Highway Aurora 1

Posted on

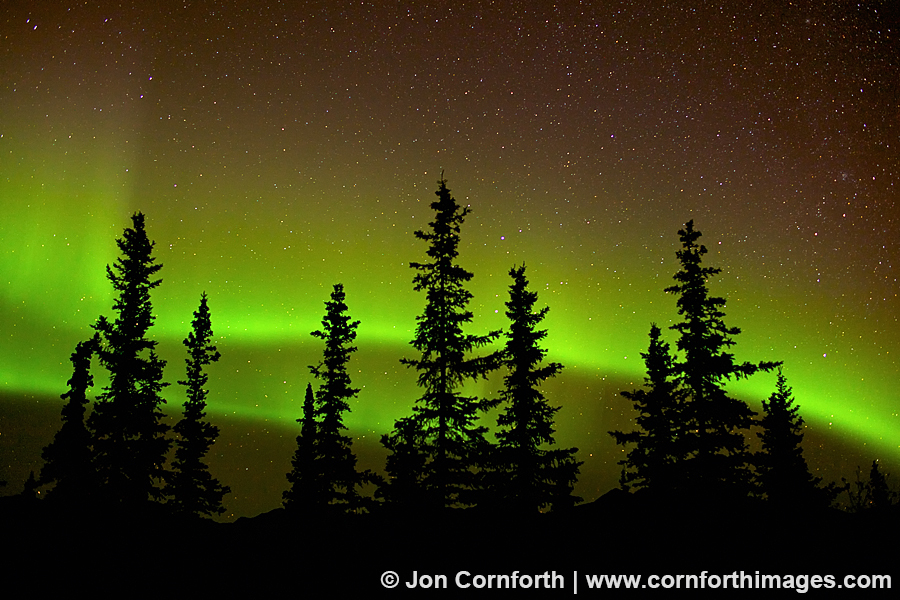
I just returned from almost 2 weeks in Alaska and had fabulous weather the entire trip. In fact, it was so nice that shooting conditions were less than ideal because there were no clouds in the sky for landscape or wildlife photography. The few times that there were sunrise/sunset clouds were on the days that I was driving long distances and did not have time to shoot. Fortunately, I made the most of what was available to me and that included photographing a beautiful appearance of the aurora borealis. Some friends of mine in Talkeetna told me the northern lights were out very late one night while I was sleeping, so I checked the aurora forecast the next day on spaceweather.com and decided to stay up that night to shoot. Though I was getting over a cold and exhausted from lousy travel sleep, I drove up the Denali Highway and stayed up until 3 am. Fortunately, the lights made an appearance and were at their best around 1 am. I set my camera on ISO 1600 and used my Carl Zeiss 35mm f2 lens set at f2.8 and 12 seconds to record this image. The aurora was more interesting off to the left of the frame, but I really liked these trees to make the entire composition, rather than just an aurora picture of the sky.

Be social and share.

South Sawyer Glacier Harbor Seal 2

South Sawyer Glacier Harbor Seal 2

Posted on

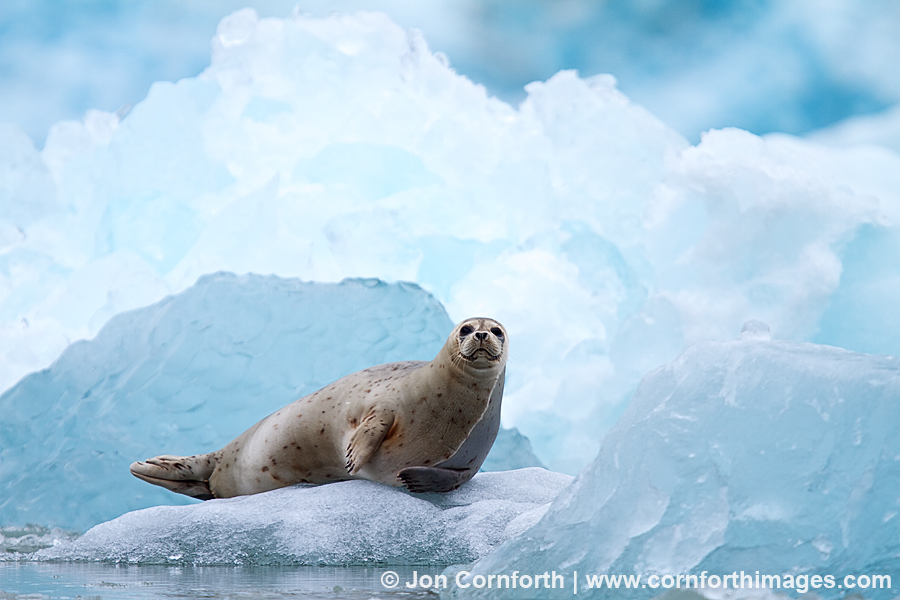
Over the Labor Day weekend, I wrote an article for one of the big photography magazines about how to photograph Alaska’s wildlife. It is scheduled to be published in the upcoming January issue. I want to share an excerpt from the article and a new harbor seal image that I created in Tracy Arm in July. I hope that you look forward to the complete article, but for now, please enjoy this teaser:

Most of the tidewater glaciers in Alaska support communities of harbor seals resting on icebergs, but it is difficult to approach these skittish animals. My best photo opportunities have happened by drifting amongst the icebergs in my inflatable in order to quietly observe the seals.  You will need to have a long lens in order to get in tight. I own the Canon 400mm f4 DO IS lens, which when combined with my 7D becomes a very hand-holdable 640mm equivalent. I prefer my images to be as close to eye-level at the water as possible, so try to get down to the lowest part of the boat. It looks much more intimate from a low angle than when shot down on them from up high. If you are unable to get in close enough for a frame filling shot, look for complimentary iceberg patterns around a seal in order to show it in its environment. Also, remember to over-expose your image at least +1 stop when you are photographing bright subjects like icebergs!

Be social and share.

Humpback Whale Tail 101

Humpback Whale Tail 101

Posted on

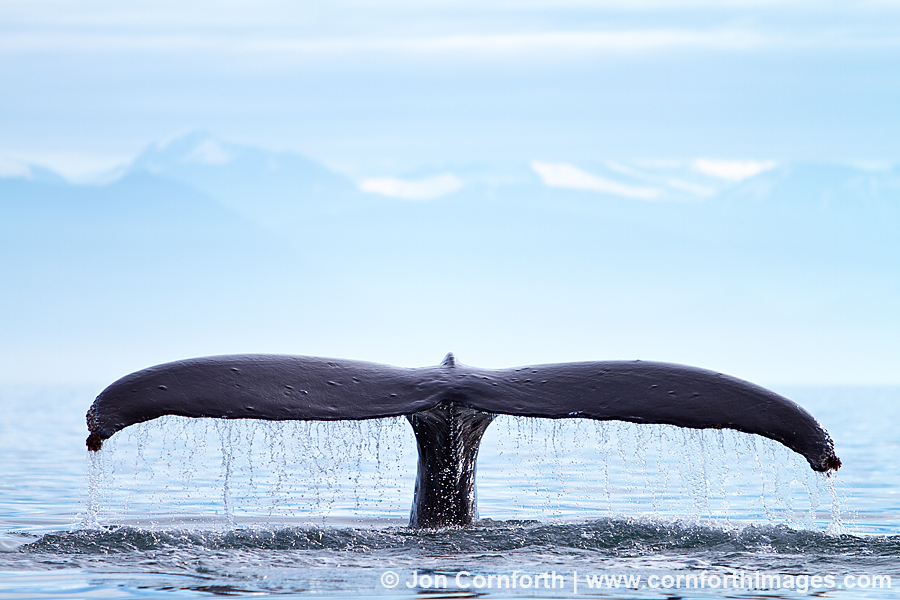
For marine mammal photographers like myself, photographing whale tails is not that hard to do, but creating a striking image is. This is the only part of the animal that most whale watchers will ever see. It’s not the most dramatic behavior, and certainly nowhere near as photogenic as a full body breach. Over the years, I have taken tens of thousands of whale tail images. I am grateful that I no longer have to spend money on film since most of these images are utterly useless and unworthy of even the 1 second of my time that it takes for me to hit the delete button. Still, every once in a while I photograph a nice tail, like this one. Here’s how the sequence of events needs to work in order to create an image like this. A whale has to surface within a few hundred yards of my boat. It will normally take 3-5 breaths on the surface before diving, which might give me enough time to close the distance on the tail and take up a position behind the whale, not slightly to the left or right, but directly behind it. When the whale begins its dive, there is usually 1 image where the tail is almost at its apex and water is pouring off of it. I am also ever vigilant for a pleasing background, like these snow capped peaks and non-distracting blue mountains in the distance. The entire image has to come together, not just any one part. You can also see other whale photos when you visit my whale photo galleries.

Be social and share.

Humpback Whale Breach 108

Humpback Whale Breach 108

Posted on

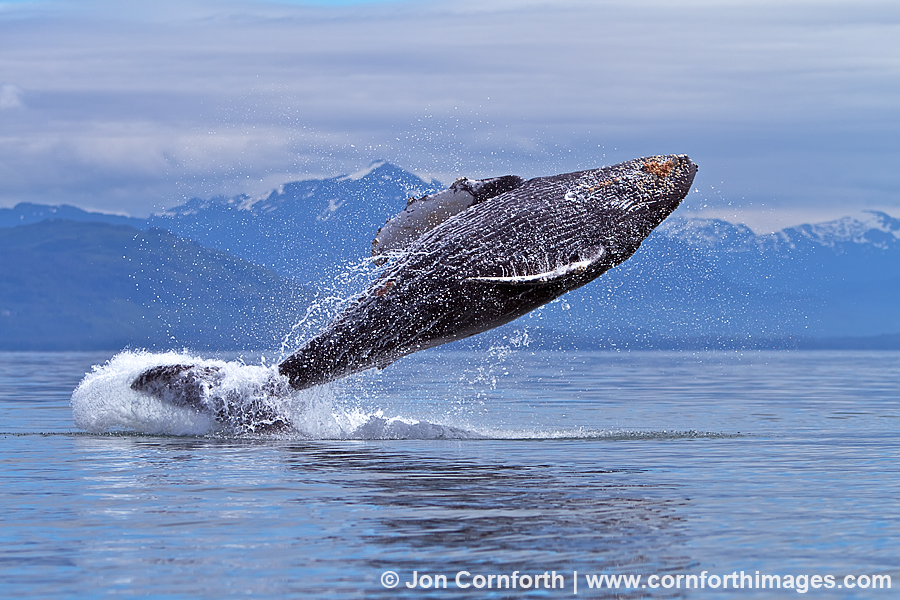
Another freakin’ humpback whale breaching photo? Well, yes, it is! I normally prefer breaching images at the peak of the whale’s trajectory, because they don’t appear as powerful in the limp-coming back down phase, let alone when the big splash happens. However, what I do like about this image is that it shows the power of the whale’s tail propelling it almost completely out of the water. You can see that there is very little of the whale still connected to the surface. I had to keep moving my inflatable for safety, but I also wanted to keep the whale on the inside of me in order to photograph it against the pretty blue mountains in the distance. See more photos of humpback whales.

Be social and share.

Yasha Island Sea Lions 2

Yasha Island Sea Lions 2

Posted on

By now, my regular readers and social networking followers are probably aware that I had engine trouble last week while using my boat on Prince William Sound for the first time. The repair bill is pretty bad, but not as catastrophic as I had initially feared. It’s par for the course in trying to shoot unique images in remote locations. I have not had a trip go sour in almost 2 years, so I can not complain. During my short visit, I was absolutely blown away by the beauty and potential images that I saw in the College Fjord area, let alone the rest of PWS. I hope to go back to Alaska in the next week and maybe even get out on my boat once it is repaired one last time. Either way, I have a lot to look forward to next summer.

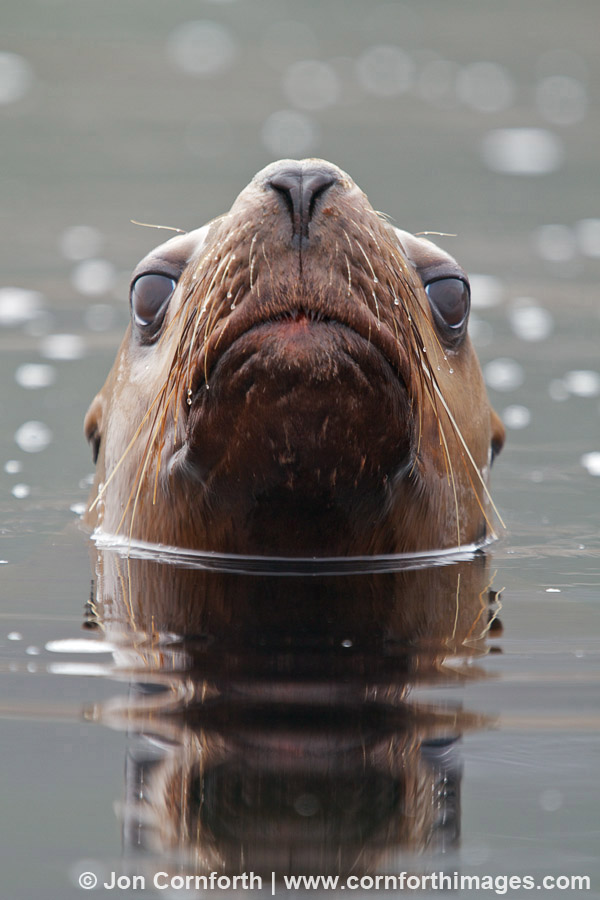
Here is a new Steller sea lion image from my July trip to Southeast Alaska. I spent 2 days visiting the Yasha Island pinniped colony. The cacophony of sound plus the overpowering stench of the colony is impossible to share, but at least I created some interesting images that capture the spirit of the place. I used my inflatable boat to drift in the kelp in order to get a low-angle view which best conveys a sense of being in the water next to these curious creatures. Steller sea lions have bulging eyes which make them look like aliens, which really comes across in this image. I think they are even kind of cute. I used my Canon 7D and 400mm f4 DO IS lens to create this photo. This setup is excellent for being able to hand-hold a big lens on the water.

Be social and share.